Showing posts with label core. Show all posts
Showing posts with label core. Show all posts
Sunday, 27 November 2016
Install Stock Android 5 1 1 Lollipop on Galaxy Core Prime
Install Stock Android 5 1 1 Lollipop on Galaxy Core Prime
Android 5.1.1 Lollipop Official Firmware for Samsung Galaxy Core Prime LTE SM-G361F is now available and you can manually download it from here. So if you want to get this update for Galaxy Core Prime LTE SM-G361F, you must know that there are several ways to do that, so you can follow this installation guide that will help you installing your Official Firmware Update .
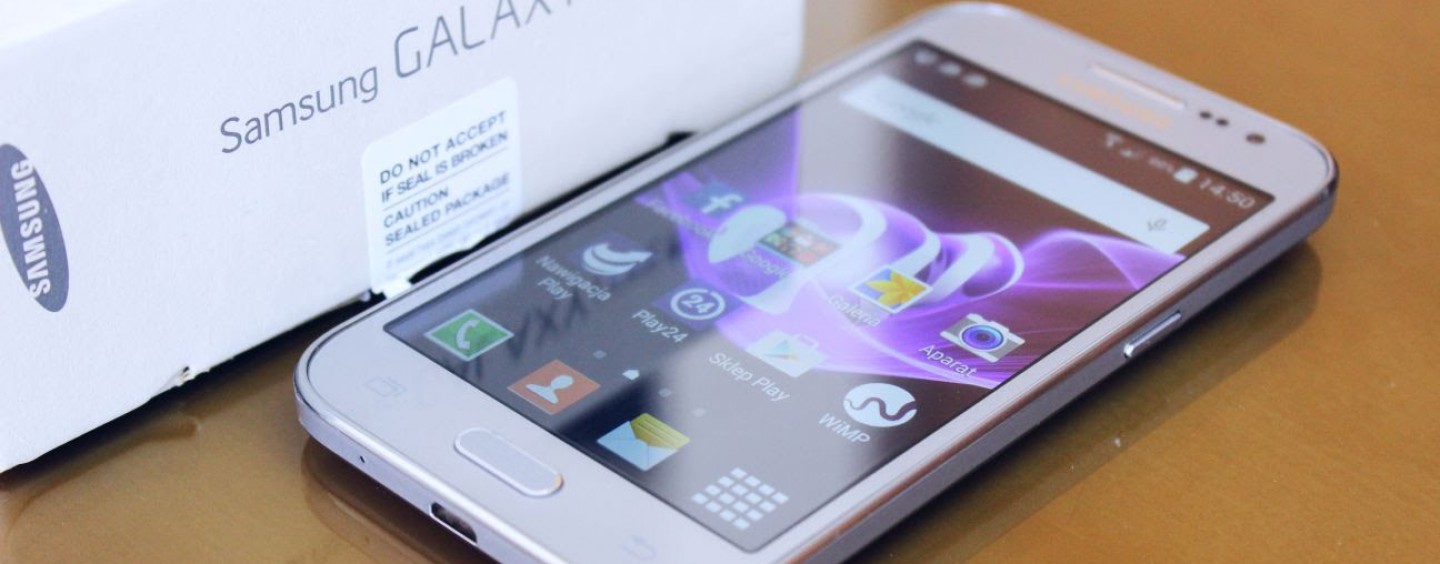
So in order to get your device to the latest available firmware, hit the download section below. Verify your variant from the download link and then proceed. The procedure to flash the update using an Odin software has been listed below.
However, before you proceed, it is highly recommended that you backup everything from Apps, Data, Media etc. It will perform a clean firmware flash via Odin and get you a brand new ROM.
Warning: Although going through this procedure should not cause harm or any damage to your device, it remains an unofficial process and you should be cautious about it. We won’t be liable for any damages or a broken device. Reader’s discretion is advised.
Downloads
- Galaxy Core Prime SM-G361F ? Download
- All builds for Galaxy Core Prime SM-G361F Android 5.1.1 Firmware ? Link
- Galaxy Core Prime SM-G361H Android 5.1.1 Firmware ? Link
- Galaxy Core Prime SM-G361HU Android 5.1.1 Firmware ? Link
- Odin Software ? Download [Mirror]
- Samsung Galaxy Drivers ? Download
Prerequisites
1. Verify your device for compatibility. The listed firmware is compatible with Samsung Galaxy Core Prime SM-G231F/H/HU variants only. For other variants, check out the download section.
2. Enable USB Debugging on your device. To do so, go to Settings>About Phone> Tap on the Build Number several times until you get a new Developer Options in the Settings. Open Developer Options and enable USB Debugging from there. Trust the connection by allowing it when you connect it to your PC for the first time.
3. Make sure you have latest device drivers setup on your PC for a better connection. Get it from the download section official from the manufacturer.
4. To be sure, fully charge your device as the process make take a while.
How to Install Stock Android 5.1.1 Lollipop on Galaxy Core Prime
Step 1: Download the listed firmware for your for your Galaxy device. Extract the zip file to get the firmware with .taror .tar.md5 extension and place at a location where you can easily locate it in your PC.
Step 2: Now boot your device intoDownload/Odin Mode. To do so, turn off your device completely and then press and hold Power button + Volume Down + Home keys for a few seconds. If you see a warning sign press Volume up/ Volume down to get the Odin screen.
Step 3: If you already have Odin software on your PC then simply run the Odin3_3.10.7.exe file. If not, then download the Odin3.zip file from the download section and extract it. Run Odin software as administrator.
Step 4: While your device is still in the Odin Mode, connect your device to your PC using a USB cable.
Step 5: After a successful connection, the ID: COM in the Odin should turn Blue and an
Added!! message should be displayed in the Log tab. In case your device doesn’t show up in Odin, then you can troubleshoot it with the steps given at the end of the tutorial.
Step 6: Now click on AP button and add the firmware file by navigating to the file path. Once added, it should show like this — File PathG361FXXU1BPA2_G361FOLB1BPA2_XXX.tar.md5
Step 7: Take care that only Auto Rebootand F.Reset Time are selected in the Options tab. Do not check Re-Partition.
Step 8: Once done, verify everything and proceed with installation by selecting Start button.
Step 9: When you get a PASS! message in the Log tab on your Odin software, that means firmware has successfully been installed and the device will restart itself. If not then reboot manually.
When you see the boot animation, you can enjoy your new firmware. Be patient as first boot may take a while. However, if the system doesn’t boot up for a long time, then go through the following.
How to Fix Bootloop on Samsung Galaxy Device?
If you come across boot loop or your Samsung Galaxy device is stuck at the boot logo then factory reset your device from the recovery. To do so, turn of your device (also remove the battery if applicable and put it back again) and reboot into recovery mode by press and holding Power + Volume down + Home keys for a few seconds. From the Recovery, select Wipe Data / Factory Reset. Confirm the action and reboot once done. Your device should now boot up.
Available link for download

Wednesday, 2 November 2016
Root Galaxy Core Prime VE SM G361F Android 5 1 1 Lollipop
Root Galaxy Core Prime VE SM G361F Android 5 1 1 Lollipop
Today we will explain How to Root on Galaxy Core Prime VE SM-G361F with Official Firmware 5.1.1 Lolli SM-G361F Root process is not much different from most Samsung Phone devices, so if you made that before you will do it easily, if not don’t worry we are here to help you.
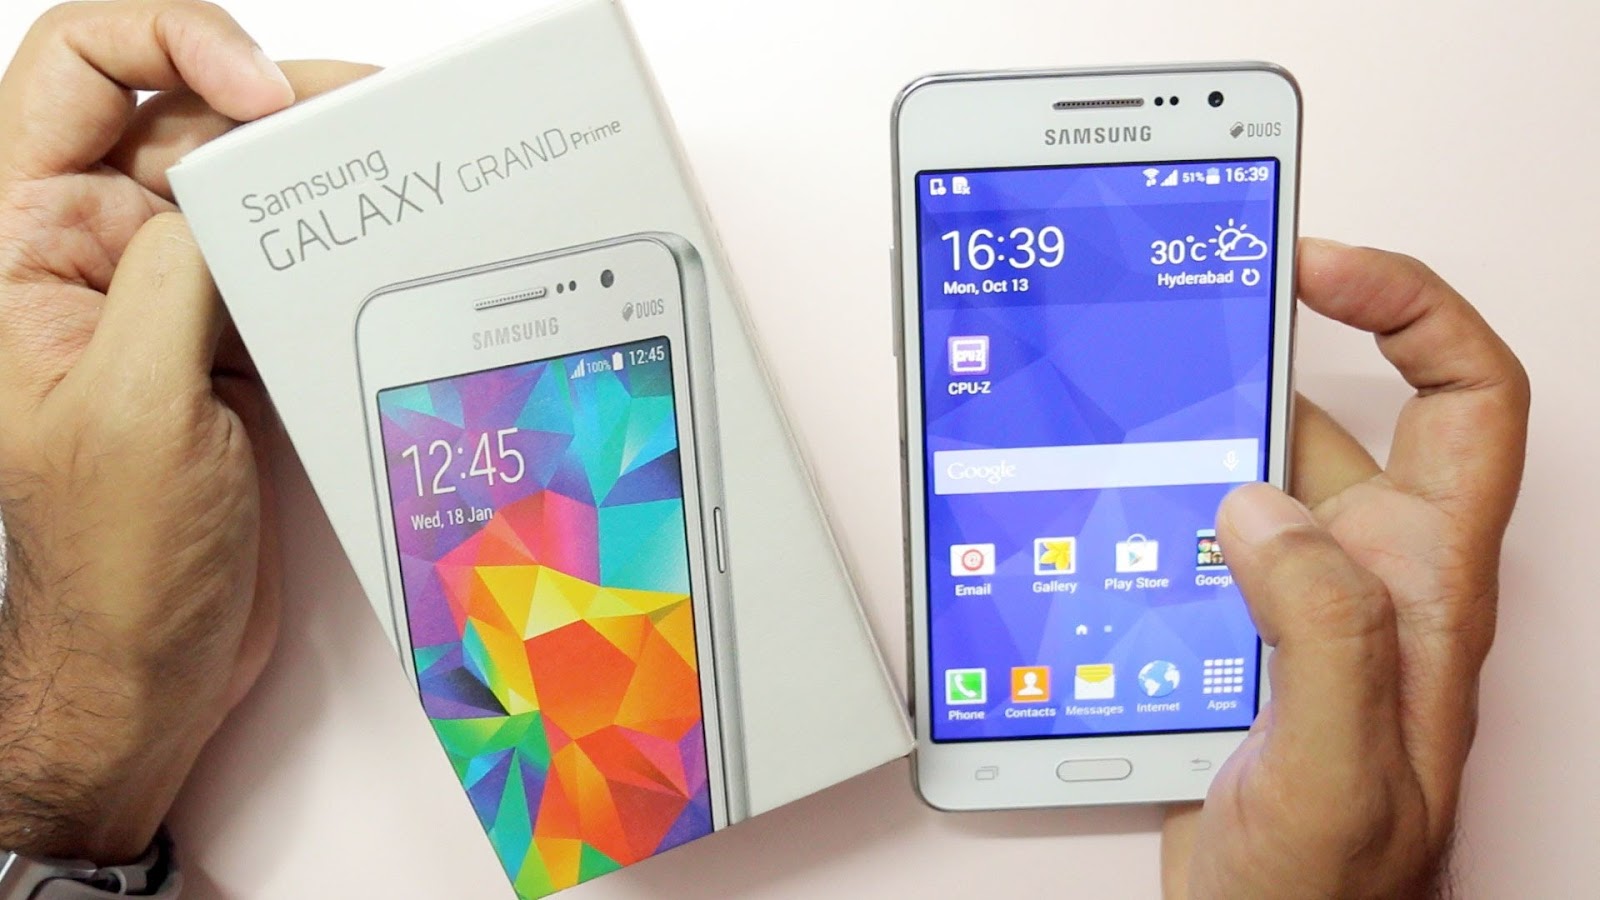
As we said, this Root Guide for official firmware only not for Custom ROMs. If you didn’t get this official update 5.1.1 Lollipop yet on your SM-G361F, so follow this link if available or use the site search here to see if we released this update here. If you didn’t find this update tell us in the comments and we will provide you with the link.
In this Guide we will use Pre-Rooted, because it is the easiest, most secure, and the best one for Rooting SM-G361F. We will use this Root method with a Windows based tool Called Odin.
As we said, this Root Guide for official firmware only not for Custom ROMs. If you didn’t get this official update 5.1.1 Lollipop yet on your SM-G361F, so follow this link if available or use the site search here to see if we released this update here. If you didn’t find this update tell us in the comments and we will provide you with the link.
In this Guide we will use Pre-Rooted, because it is the easiest, most secure, and the best one for Rooting SM-G361F. We will use this Root method with a Windows based tool Called Odin.
Before Rooting your Galaxy Core Prime VE SM-G361F please follow this notes:
- This Root process at your own risk and Galaxy Rom Website Team are not responsible for any damage caused on your phone as a result of doing it the wrong way.
- This Root is only for Galaxy Core Prime VE SM-G361F and it is not for any other model, so don’t use it in any other model because it may damage your Phone.
- You may need to make a backup for all of your important data to avoid data lose in case of any mistakes happened.
- Your Phone Battery must be 50% at least before starting the Rooting Process.
- Do not remove the cable from the phone while the Root is being installed.
- Attached images are only for explaining only and you may see small differences.
- You should be known that is the Rooting process will avoid your Phone Warranty and you will not be able to use your Warranty anymore and you will not be able to receiving OTA updates even if you removed the Root.
- Again, this Root is only for Galaxy Core Prime VE SM-G361F not any other model.
Files required for installing the Root Galaxy Core Prime VE SM-G361F
· Odin v3.10.7 of here
· Pre-Rooted File Here is the Root File or Here
How to Root in Galaxy Core Prime VE SM-G361F :
- Download CF-Auto-Root for Galaxy Core Prime VE SM-G361F and extract the Zip file, and select the Pre-Rooted-klte-kltedx-smg900f.tar.md5
- Download Odin v3.10.7 and extract the Zip file: Odin v3.10.7.Zip
- Now, Turn off your phone and Boot your Galaxy Core Prime VE SM-G361F into Download Mode
by pressing and holding the Volume Down + Home + Power buttons together
(long press until the boot screen appear), now press Volume Up key to proceed to Download Mode. - You will get this alert as Shown in the following, press Volume up to continue
- Make sure that the USB Debugging mode is enabled, if not go to Developer Options and Enable USB Debugging Mode.
- Run the Odin v3.10.7.exe or Odin3 v3.07.exe file as Administrator (Right click on the .exe file and Select Run as administrator)
- Now connect your Galaxy Core Prime VE SM-G361F to your Computer via USB cable.
- In Odin3 screen, you should see a COM Port number like “0:[COM7]” at
- ID:COM section and “Added!” text at the message box. This means your
- device has been detected by Odin3.
- Make sure that, only the “Auto Reboot” and “F. Reset Time” options are checked.
- Now, click on the PDA button and select the Pre-Rooted-klte-kltedx-smg900f.tar.md5 file.
- Finally, click on the Start button to begin the Rooting process, wait a few moments.
- Once completed, you would see “PASS!” message in ID:COM Section with a Green Background.
- Your phone should Reboot Automatically. You can now disconnect your phone from your Computer Safely.
Congrats! You have completed the Rooting Process and Now you get Root Access on your Galaxy Core Prime VE SM-G361F with Stock Firmware Android 5.1.1 Lolli
Available link for download
Subscribe to:
Posts (Atom)